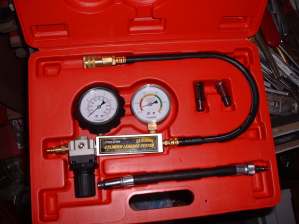
¶ Leak down testing is simply measuring the rate of air leakage past the rings and valves of an engine. The less air leakage the better. Aircraft mechanics have used this test for a long time.
The drill is this. Set the engine at Top-Dead-Center and attach the leak down tester hose to the sparkplug hole. Lock the crankshaft in place. The tester is attached to an air supply and set at 100 psi (Pounds per square inch). You then connect the tester to the tester hose and read how much air is leaking out of the cylinder. If it is say, 10 psi, that is good. It's holding 90 %. If it's leaking 30 psi, that is 70 %. That is not so good. Sounds easy, doesn't it?
Like I said, mechanics have been using this type of test on piston aircraft engines for many years. With that big propeller on one end of the crankshaft it's much easier to lock the engine in one position for testing. Also, because of insurance concerns, aircraft engines tend to be somewhat static in their development. In other words they want tried and true, not hot and new. This means the aircraft engine types have been around a long time and are very well known. You run the leak down tests on a regular basis and if one cylinder on an engine tests low it is pulled and new rings or a valve job fixes the problem. Also aircraft engines run at low engine speeds, around 3-4 thousand RPM. The test is a routine part of a ridged scheduled maintenance program that all aircraft engines follow.
Motorcycle engines are a bit different. The cylinders are much smaller and the RPMs much higher. Each cylinder may or may not be easy to remove. Regular maintenance? Yeah, right, sure.
So does that invalidate the test? Absolutely not. It just makes it harder to make an accurate test and to interpret it.
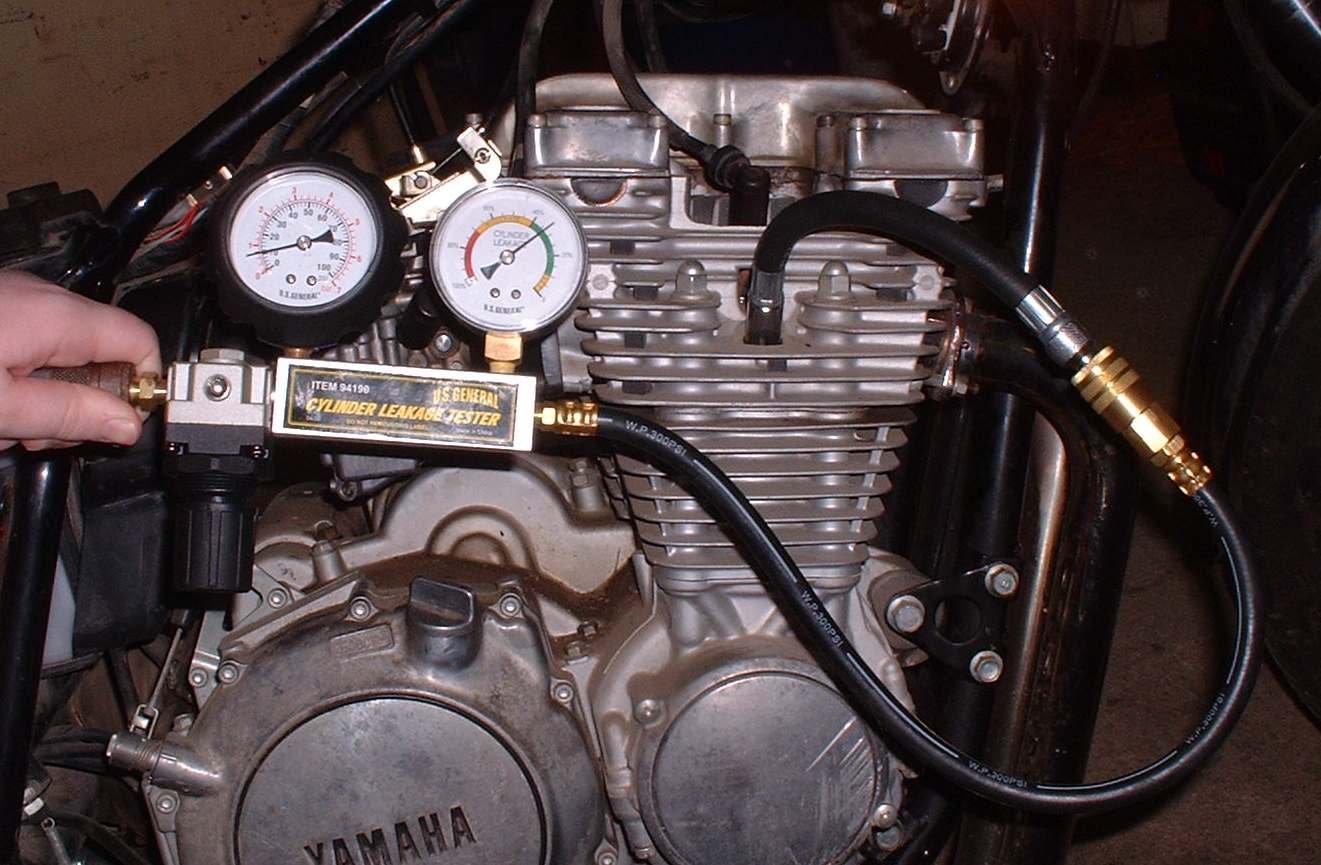
On motorcycle engines locking the engine can be fun. If the engine is in the frame you can put it in gear and apply the rear brake. If the engine is on the bench, things are a bit harder. Now you have to lock that engine. If you use a wrench on the crankshaft bolt be sure to use a long one with lots of leverage. If you used a regular sized wrench you will find that the 100 psi of air pressure will apply a tremendous amount of twisting pressure to that wrench. You must be ready for that.
Even if you are ready, with a tight grip on the wrench, the crank might turn. Yes indeed, it might turn and cut your hand on the crank case like a scissor and you might get mad, say some bad words and throw that wrench across the room and stick it in the wall! Of course, a master mechanic of my stature would never do that and besides it did not stick in the wall. It bounced off. If I had thrown it which I did not. Anyway, you get the idea!
 Some leak down testers use low pressure. They work on the same basic idea as the higher pressure testers but have the advantage of low pressure. You don't have to lock the crank.
So now we have a test figure and it is probably lower then what we would have likes to see. What exactly does it tell us? Lycoming engines say the orifice which the air passes through must be .040" in diameter and have an entrance angle of 59/60 degrees. That is what is right for their engines. The real question is, what is right for your engine. If you start when your engine is new, run the test with the same test equipment and test at regular intervals you will get accurate test figures for your type of engine.
Alas, no one ever does this. The question is do you need to? I don't think so. Motorcycle engines are not aircraft engines. Trying to get useful, meaningful figures and then to interpret them accurately, is not so easy. If you are figuring on making a test and then going back in and regrinding valves and rehoning cylinders if the numbers are not to your liking I think you are wasting your time. At the very least you need to run a new engine for a while so everything settles in. Then you need regular testing to establish a base line to judge wear from.
So what does all this mean to you. Well, I think this is an interesting test that isn't really necessary for most motorcycle engines. However, if you ignore all the percentages and green/yellow/red zones, it does give one piece of very valuable information. It tells you where the leaks are and you don't even have to have the gauge to do it.
The test is simple. Apply air pressure to the sparkplug hole and listen. You will probably have to take the exhaust pipe and carburetor off plus remove the oil fill cap. Other then that, just listen. You will need at least fifteen or twenty pounds of air pressure. Higher pressure will make the sound louder but too much and you will need to lock the crankshaft to keep the engine from turning. A hissing noise at the carburetor manifold indicated a leak at the intake valve(s). Hissing at the exhaust, leaking exhaust valve(s). Hissing at the oil fill or at the engine breather tube, leaking past the rings.
For air pressure you can use a fancy spark plug hole attachment or just a rubber tip on a blow gun. You might need an extension for these hard to reach plugs too.
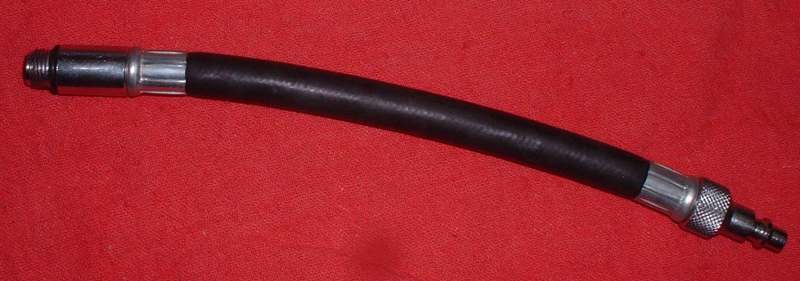 Spark Plug Attachment |
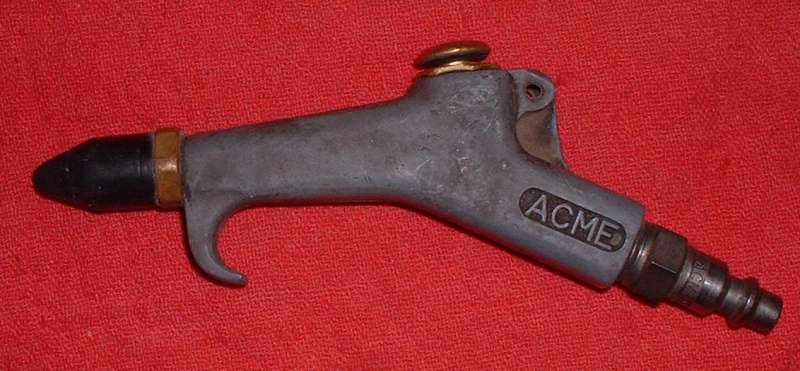 Rubber Tip Blow Gun. |
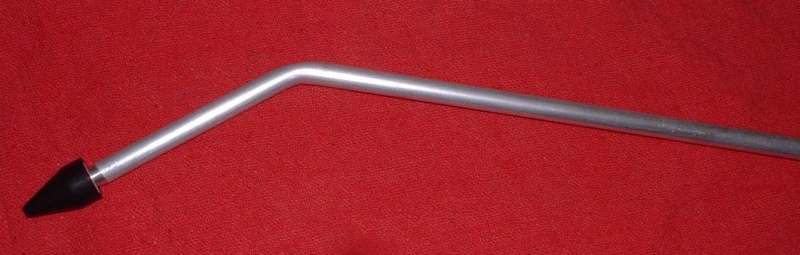 Rubber Tip Extension. |
Cheap, easy, and accurate. What's not to like?
One last thing. I would NOT use this test on a two stroke engine. It could be done but you run a risk of blowing out the crankshaft seals if the piston is not positioned just right and I don't see any advantage over a Crankcase Compression Test.
 |
 |
Copyright © 1999-2010 dansmc.com. All rights reserved.